In this lesson, we will summarise several different approaches to screen sharing on Zoom – providing a more professional experience for your students.
Avoid sharing your whole screen
Although sharing your whole screen may seem like the easiest option to get started, it does not provide a very professional experience for your students. They will see any notes, sidebars, etc. around your presentation, as well as any notifications (e.g. emails or messages) which pop up. These can be very distracting for students.
Sharing a particular application window
Sharing a specific application window is useful when using PowerPoint or similar applications on your computer.

Simply select “share application window” in the Zoom screen sharing settings to get started. Note that it shares the whole application window – including your notes and slide previews. Therefore, if you are using PowerPoint, be sure to click “present” to make your presentation full screen.
Sharing a portion of your screen
Sharing a portion of your screen is useful when using tools such as Google Slides, videos, or other activities within your web browser. This is the tool I use the most, as it provides you with a lot of flexibility as well as the ability to have your notes and other applications open to the side to refer to.
After selecting “share portion of screen” under the advanced tab in Zoom’s screen sharing tools, you can resize the green window to select which portion of your screen to share.
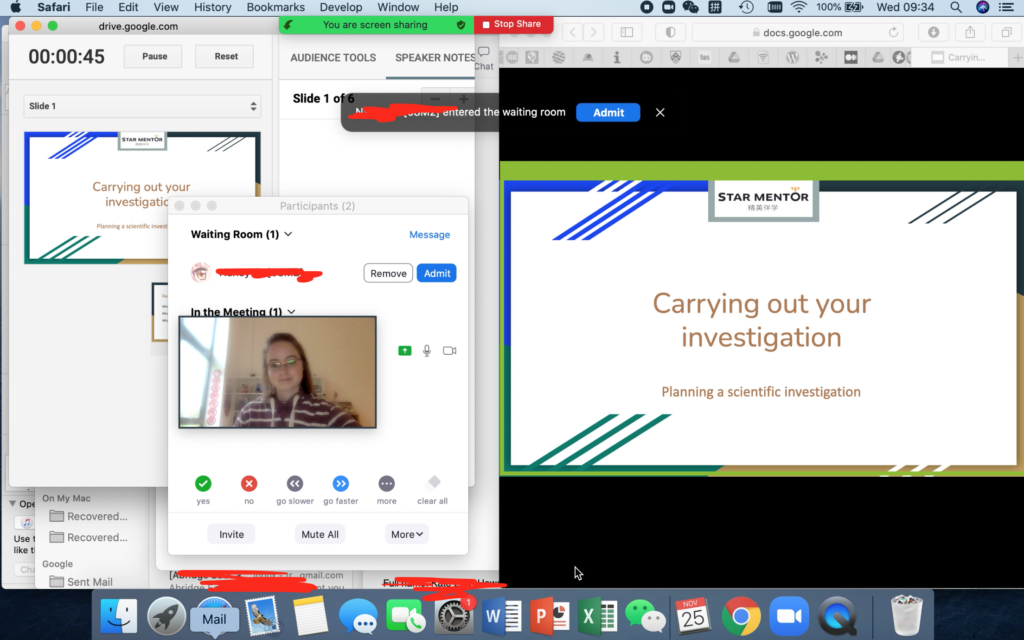
This also enables you to have other notes, applications, etc elsewhere on your screen. You may wish to open the participants’ list and chat too (in the Zoom drop-down menu) for easy access during the class.
Sharing a video
To share a video, you may use any of the screen sharing methods mentioned above – we would recommend the “portion of screen” option for maximum flexibility.
However, be sure to select “optimise for video clip”. This will increase the frame rate so the video plays smoothly.
Also, turn on “share computer audio”. This ensures the video sound will also be played – usually Zoom filters out sounds from your computer to prevent them disturbing the call.
Zoom online whiteboard
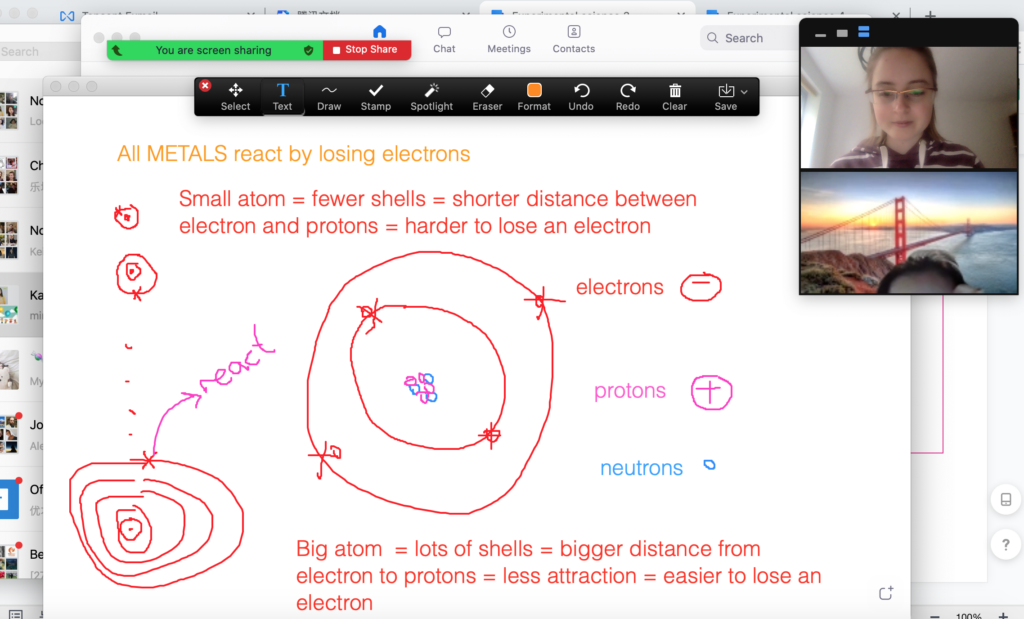
The Zoom online whiteboard provides a simple online whiteboard where you and your students can draw, annotate, write and collaborate on a simple blank screen.
I use this particularly for asking students to draw and annotate scientific diagrams, as well as for extension tasks and more spontaneous quizzes if we finish a lesson early.
Annotation tools
The Zoom annotation tools can be used with any screen sharing approach – not just the online whiteboard!
Zoom’s annotation tools are relatively comprehensive, including:
- Text: type in simple text boxes
- Draw: draw freehand, straight lines, arrows, etc.
- Stamps: add ticks, crosses, stars, etc.
- Save: save the screen as a .png file
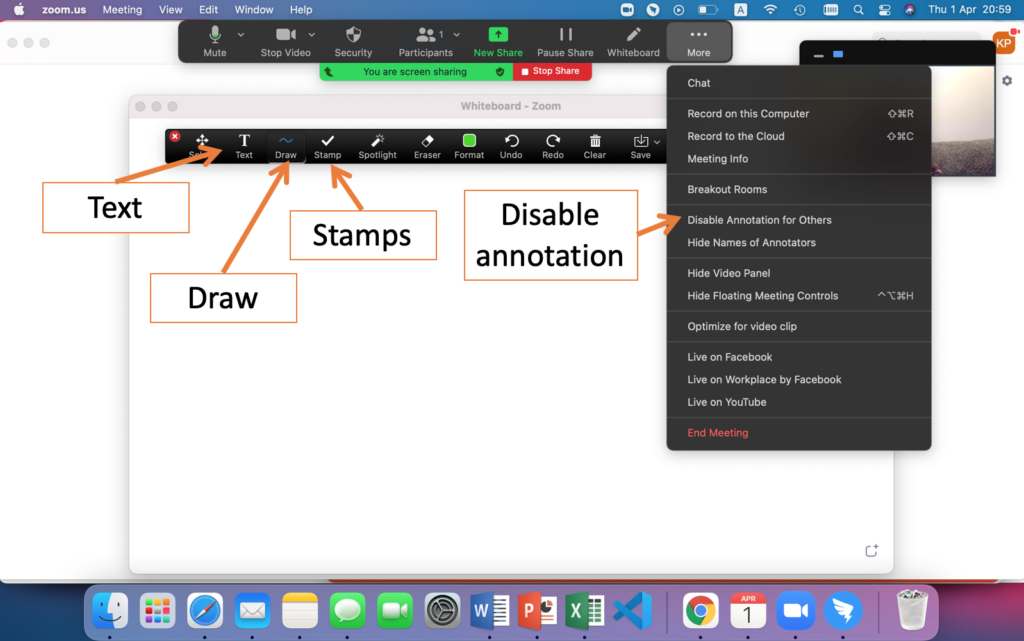
Additionally, in the Zoom drop-down menu you can find the option to “disable annotation for others”. This is useful if you have younger or naughtier students who are drawing on the screen inappropriately.
Thanks, these are great! I am getting lots of tips as I was not very familiar with Zoom, although I have worded on other platforms.
Great, to hear – thanks for the lovely feedback! I’m glad you’ve found this course helpful 🙂 ~Katie
I really did enjoyed the lesson. Thank you
Useful
awsome course.. thank you so much for this opportunity
Thanks! I’m so glad you are enjoying the course 🙂
You didn’t mention that it’s possible to save a whiteboard which can be useful when it comes to sending a record of what was covered or sending homework to students.
PS. You use the button after the Bin button on the toolbar.
Awesome, thanks for the suggestion! Yes, this save button is really useful, it takes a snapshot of the whiteboard/screenshare and annotations which you can then send to students to review after class. Thanks for sharing!