Teaching with Zoom Guide
What is Zoom?
Zoom is one of the most popular online web conferencing tools. They began as a business-focused company, but have also become a popular online teaching tool, both with independent teachers and platforms such as Outschool.
In terms of using Abridge Academy’s resources, Zoom is not an ideal platform due to limited potential for students to interact with the slides. However, it can still be used by simply changing your instructions to students – see tips below.
Advantages
- Great selection of screensharing options, including sharing specific windows, a portion of your screen or document cameras.
- Compatible with most devices, including tablets and mobiles.
- Students do not need to download the software or create an account to join meetings.
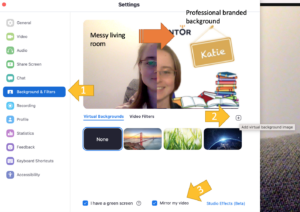
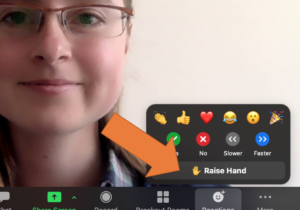
- Great virtual background, video filter and snapchat-style face stickers.
- Easy to schedule meetings, including recurring meetings, and invite students.
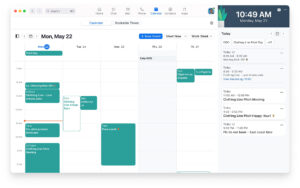
- Built-in calendar system for scheduling classes.
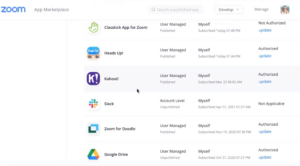
- Best range of integrations with scheduling apps, payment gateways, etc.
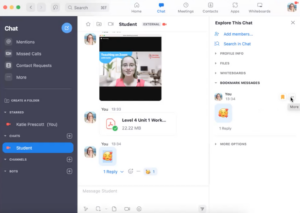
- Out-of-class messaging and file sharing system.
Disadvantages
- ‘Remote control’ tool (for student interaction with slides) is quite clunky.
- The free version restricts classes to just 40 minutes.
- The full range of tools, in particular the ‘remote control’ and full annotation tools, are only available on computers.
Premium account features
- Unlimited class duration.
- Record lessons to the cloud.
- Advanced collaborative whiteboards.
- Livestream promotional classes to platforms such as YouTube or Facebook.
- AI note-taking and summaries.
This guide will answer some common questions for teachers using Zoom and share helpful tips specific for using the Abridge Academy resources on Zoom.
Screen sharing
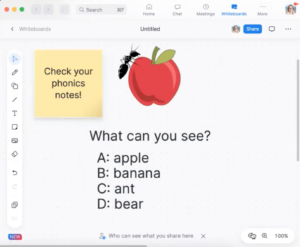
When using the Abridge Academy resources, we recommend using the “share portion of screen” option in Zoom. This is found under the “advanced” screen sharing tab. Simply draw the green box around the slides.
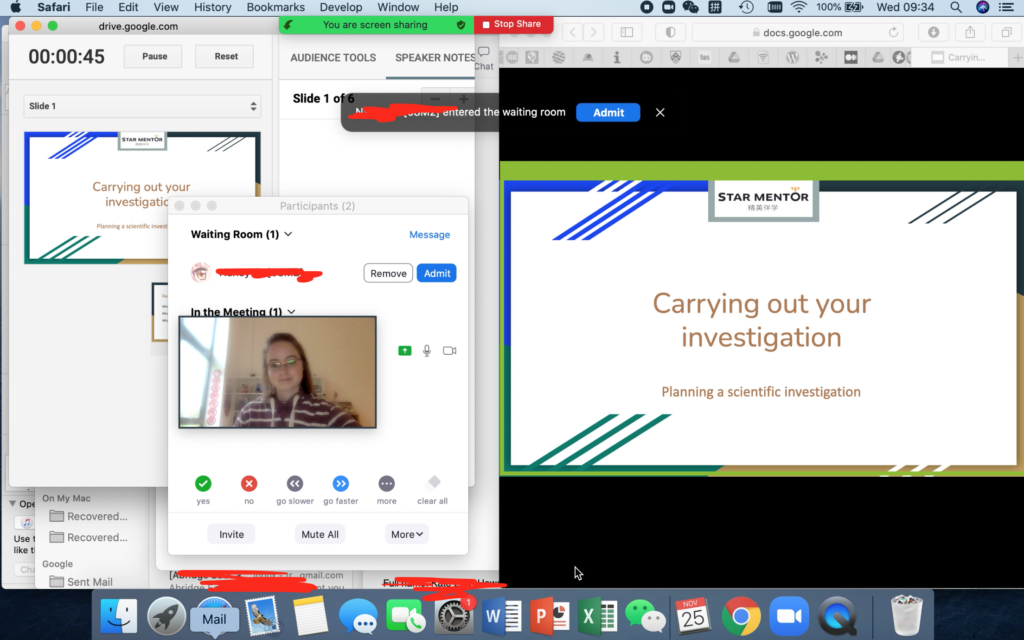
While screen sharing, you can hover over the top of your screen to reveal the Zoom options bar. Here you can open the students list, chat box, annotation tools, remote control feature, etc.
Zoom remote control tool
To enable students to interact directly with the slides (including clicking on answers, doing drag-and-drop activities, typing in text boxes, etc) you should use the “remote control” feature.
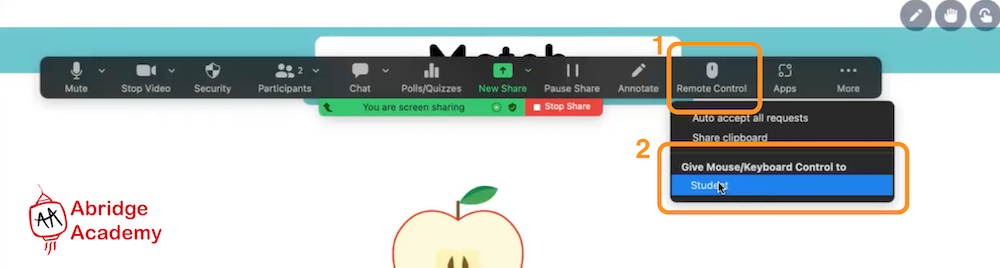
To take back control, simply click anywhere on the screen (then click “stop remote control” to avoid accidental battling with your student over the mouse!). You can also use the keyboard shortcuts:
- Mac: Ctrl+shift+G
- PC: Alt+shift+G
Note: this feature is only available if both you and your students are using computers. If you are on a computer but your students are on a tablet/ mobile, they can click and type but not drag-and-drop.
Zoom annotation tools
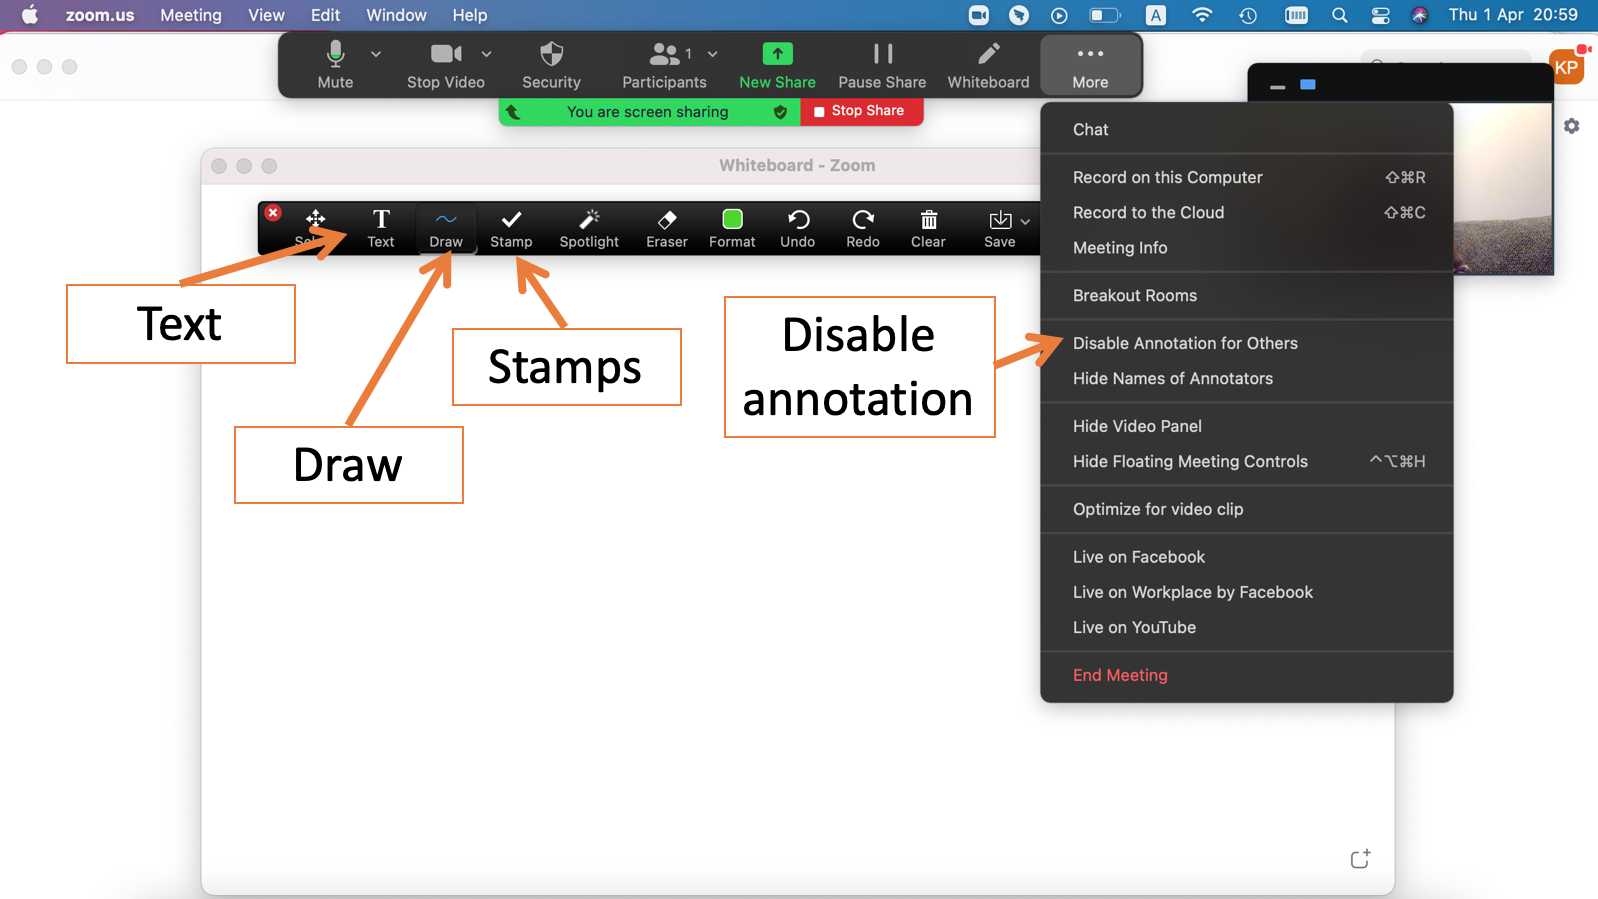
Basic interaction (easy and available on all devices) uses Zoom’s annotation tools. These allow you and your students to draw, use simple stamps, type text, etc. on the screen. You can easily change the colour, size, etc within the annotation options.
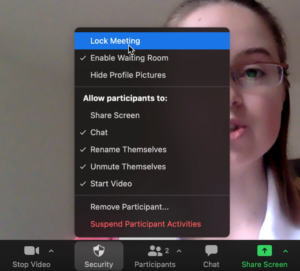
Other useful Zoom features
Conclusion
Zoom is a great platform for teaching teens and adults, and has many powerful features both in and out of class. However, the “remote control” tool is quite clunky, making it less idea for teaching younger kids with the Abridge Academy curriculum.
Looking for more interactive teaching materials to use in your online ESL classes? Join the Abridge Academy curriculum for free today!
More teaching guides

Koala Go guide

Hi everyone! Just created this basic guide for using our resources with Zoom – please do feel free to have a look and let me know if there are any additional questions you would like covered, anything which isn’t clear, any extra tips you would include, etc. Thanks!